Browsing Category

Lifestyle

20/20…again | MadameAkay

Hey, Gems!
It’s been a year since I corrected my vision using the PRK method. But before I dive into how my procedure went let me rewind to third grade. I remember being asked by my teacher to read the chalkboard from my seat which was about 3 rows from the front of the room. I was squinting so hard that my teacher called me to the front of the class to try again and I still couldn’t see. It was at this moment I knew something was wrong. I went through countless pairs of glasses and boxes of contacts till I finally made the decision to fix my vision permanently. Fast forward to 2016.
I did my research and looked at different companies in my local town that performed the procedure. There were even Groupons for the procedure which I thought was super sketchy. I finally landed on going with Diagnostic Eye Center – Houston. I went in for my LASIK evaluation and when I left the eye care professional recommended me for PRK instead of LASIK. Which I was fine with.


PRK vs LASIK
During the LASIK procedure, the surgeon makes an incision in the cornea to create a flap of tissue. This flap is then lifted to reshape the inner layers of the cornea. The flap is put back in place and the incision is closed. In PRK, the surgeon doesn’t make any incisions rather the outer layer of the cornea removed for the laser to reshape.

Day of Surgery
For some reason, I wasn’t scared, maybe because I was deep in prayer the week before and asked God to give me peace of mind. I was so ready to have this surgery that my evaluation appointment was a week prior. Ha! My mother went with me because that is just who she is. She is always involved and hands-on when it comes to anything health related. I was awake the entire time but I was given eye drops that numbed my cornea so I wouldn’t feel the pressure from the laser. I honestly didn’t feel any pain from the laser but there was a smell of burning cornea. Eek, gross I know! I had to keep my head very still but luckily there was a holster to keep it straight, I was instructed to stare at a red dot for the entire procedure. When the procedure was complete I left with what looked like swimmers googles and I hated it.

Post Surgery
Oh my gosh, I was in soooo much pain. I wanted to cry on the way back home because with every bump we drove over I felt like my eyes hurt. Soon enough I fell asleep for the remainder of the ride home, may have been due to the pre-surgery drugs. I was instructed to not open my eyes for 24 hours. Isn’t that crazy? As soon as I came home my mom went into mommy mode. I had to take a certain drop every hour, a different drop every 12 hours, and lastly, drops every time my eyes felt dry. When my dad came home from work he too went into daddy mode. I honestly couldn’t thank them enough for nursing me back to health. The first day was the hardest especially since I couldn’t open my eyes unless I was putting my drops in.

Today
Now that it’s been a year since I had my surgery, I do have to say this was the best decision I could have ever made. I now wake up and don’t have to search for my glasses to see or I don’t have to worry about my contact lenses ripping apart in my eye. I finally have a feeling of normalcy.

Disclaimer: If you are thinking about either of these procedures please consult with your optometrist first. Do not use this posting as your sole resource.


So Fresh & So Clean Clean | Kinky Wednesday | MadameAkay

Hey Gems,

If you are new to my blog, I am doing a series where I share all things related to my 4C kinky hair. Every Wednesday I will drop a new post related to my 4C crown, leave a comment below I want this to be interactive!


In my last post, I mentioned how I finally found my hair care regime right? Well, today I’m going to reveal my secrets and what my wash day routine details. Shh, don’t tell anyone instead lure them to this post! Ha!
First off, go ahead and dedicate say…your whole day to washing your hair lady. Okay, I exaggerated a bit but oh you thought you only needed to follow the instructions on the bottle and be done in 45 minutes? That’s totally not true, I mean who really uses a dime sized amount of conditioner? I usually try and dedicate at least 5-8 hours from start to end. There are 5 steps to my madness. Shoutout to NappyFu for helping me figure out what works for me. Thanks girl!

Step One: Pre Poo
This process involves applying an oil of choices such as almond, black castor, olive and coconut oil to your entire hair. You want to start from the roots and work your way to the ends of your hair. This step helps prepare your hair for your wash day, we all know shampoo strips your hair of oils. Think of this as your front line of defense with a touch of moisture.

Step Two: Cleanser (shampoo, mud mask, co-wash)
CLEANSE THAT SCALP BABYYY! You know you did a successful cleansing when you do the scratch test. Scratch N’ Sniff Test: Scratch your scalp after shampooing and if you see some gunk under your nail bed turn back around and keep cleansing. Sniff your nail if you don’t see anything and if you smell something other than your shampoo, baby you need to keep cleansing, your crown isn’t clean yet. I also like the mud mask, oh my gosh ladies and gents this is like my holy grail I wanna be snatched for the gawdsss cleanser.

Mud Mask Recipe
– Bentonite Clay Powder
– Braggs Apple Cider Vinegar with the Mother
– Plastic spoon
– Plastic Bowl

1. Pour a small amount of the clay powder into the bowl.
2. Slowly pour apple cider vinegar.
3. The clay and the vinegar will react and bubble so go slow.
4. Stir the mixture until it becomes a paste.
5. Apply the mixture to your hair from roots to ends.
6. If there is leftover paste it can be applied to your face as a mask.

Step Three: Condition
Now, this is an important step. For me, I have to use a moisturizing conditioner because again I wear wigs so my scalp and hair is as dry as the Sahara desert. There are so many different types of conditioners, so depending on what your hair is serving you will determine what type of conditioner to use. In my June Favorites video, I talked about my favorite shampoo and conditioner.

Step Four: Deep Condition
I usually use the deep treatment masque by Cantu Shea Butter and this product has my hair feeling like butter. My curls are popping and the shine in my curls is amazing. I love this step because I apply my masque then my conditioning cap and carry about my business. The directions say to leave this on for 30 minutes but I typically leave this on for 45min – 1 hour depending on how crunched on time I am. In my opinion, the longer the better but I could be wrong, this is just what works for me.

Step Five: LCO/LOC Method
This step is probably the most debatable subject int he natural hair world. I have seen so many posts and discussion threads on which method is the right way and which way isn’t. Honestly, they both work so lets put the pitch forks down and embrace them both.

L.iquid (water, leave in conditioner)
O.il (almond, castor, olive)
C.ream (hair milk, curl activators)

L.iquid (water, leave in conditioner)
C.ream(hair milk, curl activators)
O.il (almond, castor, olive)

It honestly doesn’t matter which way you put it, yes your hair will look different depending on which method you use but hey, your hair is getting the food that it needs. The two methods work for me, depending on how my hair feels. If my ends are super dry then I use the LCO method.

Step Six: Styling
Since I wear wigs majority of the time I plait roughly 8 braids going straight back to my nape. If my wig is a middle part then I section my hair into half from ear to ear and the top portion I create a middle part and braid my hair from the middle to my ear. I also style my hair into a twist out, flat twist, braid out etc. depending on what look I’m going for that weekend. Since I cherish my sleeping hours and I really don’t want to deal with a twist out not coming out right I usually do those types of styles on the weekend and wear my wigs to work during the week.
Well that’s it! I hope you gems liked my hair regime because I know my crown loves it! You have to find out what products work for you and that helps my wash day to be smoother.


Review: Carbon No-No | MadameAkay

Hey gems!

I decided to try out the infamous Carbon Coco teeth whitening products. I wanted to share my experience with you all since I’ve been seeing this product a ton on social media. I wanted to make sure I provide a truthful opinion on this brand so this review was not sponsored in any way and was purchased with my own money.

Why I Wanted to Try it Out
Who doesn’t want whiter teeth? I’m a stickler for really white teeth and I know I already have white teeth but I wanted to achieve whiter teeth. Plus, I wanted to see if this product would work as advertised.

Purchasing Experience
The website was very easy to navigate through. I was able to see the featured products on the homepage, read people’s testimonies and connect their Instagram page. I saw they were having a sale so I thought what other time is best to purchase this product. I paid a total of $51.87 after discounts and shipping were applied.
I wanted the product to come in quickly so I elected for the arrives in 3-7 days shipping option. I placed my order on June 28 and I didn’t receive it until July 11. I do understand there was a July 4th holiday but I didn’t receive my shipping information till I reached out to customer service inquiring about my products. It wasn’t until July 7 that a shipping label was even created but I was told it takes 2 days for orders to be processed after placing an order.

What Did I Get? 
I purchased the Ultimate Carbon Kit and at the time the products that came in the kit were:

  1. Activated Charcoal Tooth Polish
  2. Activated Charcoal Tooth Paste
  3. Toothbrush with Bamboo Bristles

If you look at the website now, the kit includes a tongue cleaner and a satin pouch. Other kits include Oil Pulling Sachets but I hate oil pulling, eek!

Customer Service
Carbon CoCo’s customer service team wasn’t as bad as I thought they would be. They responded to me after one business day, and of course each time I responded the reps name was always different. My only issue was I had to reach out to them to receive any shipping information, which I’m not used to doing.

PROS

  • No teeth sensitivity
  • Price
  • Marketing
  • After feeling from brushing

CONS

  • The charcoal powder gets stuck in my gums and I have to floss it out or brush aggressively to get it out
  • I have to follow up with my regular toothbrush to remove the black hue on my teeth, and my tongue
  • Portion of my gums started swelling and it was sorta painful

End Result
I was not able to complete the 7 day period to achieve the advertised results, I was only able to get through 3 days. I would not recommend this product. I don’t like how my gums became really irritated and swollen. I want to say it was because of Charcoal that was may have been left after I rinsed. Marketing strategy is great, all the testimonies that prompted me to buy the product got me good. I’m going to stick to my arm and hammer whitening toothpaste as it doesn’t give me any sensitivity in my gums.

I hope you all enjoyed this review and this helps you in deciding if you too will try it out.

Happy Blogversary MadameAkay!  | MadameAkay

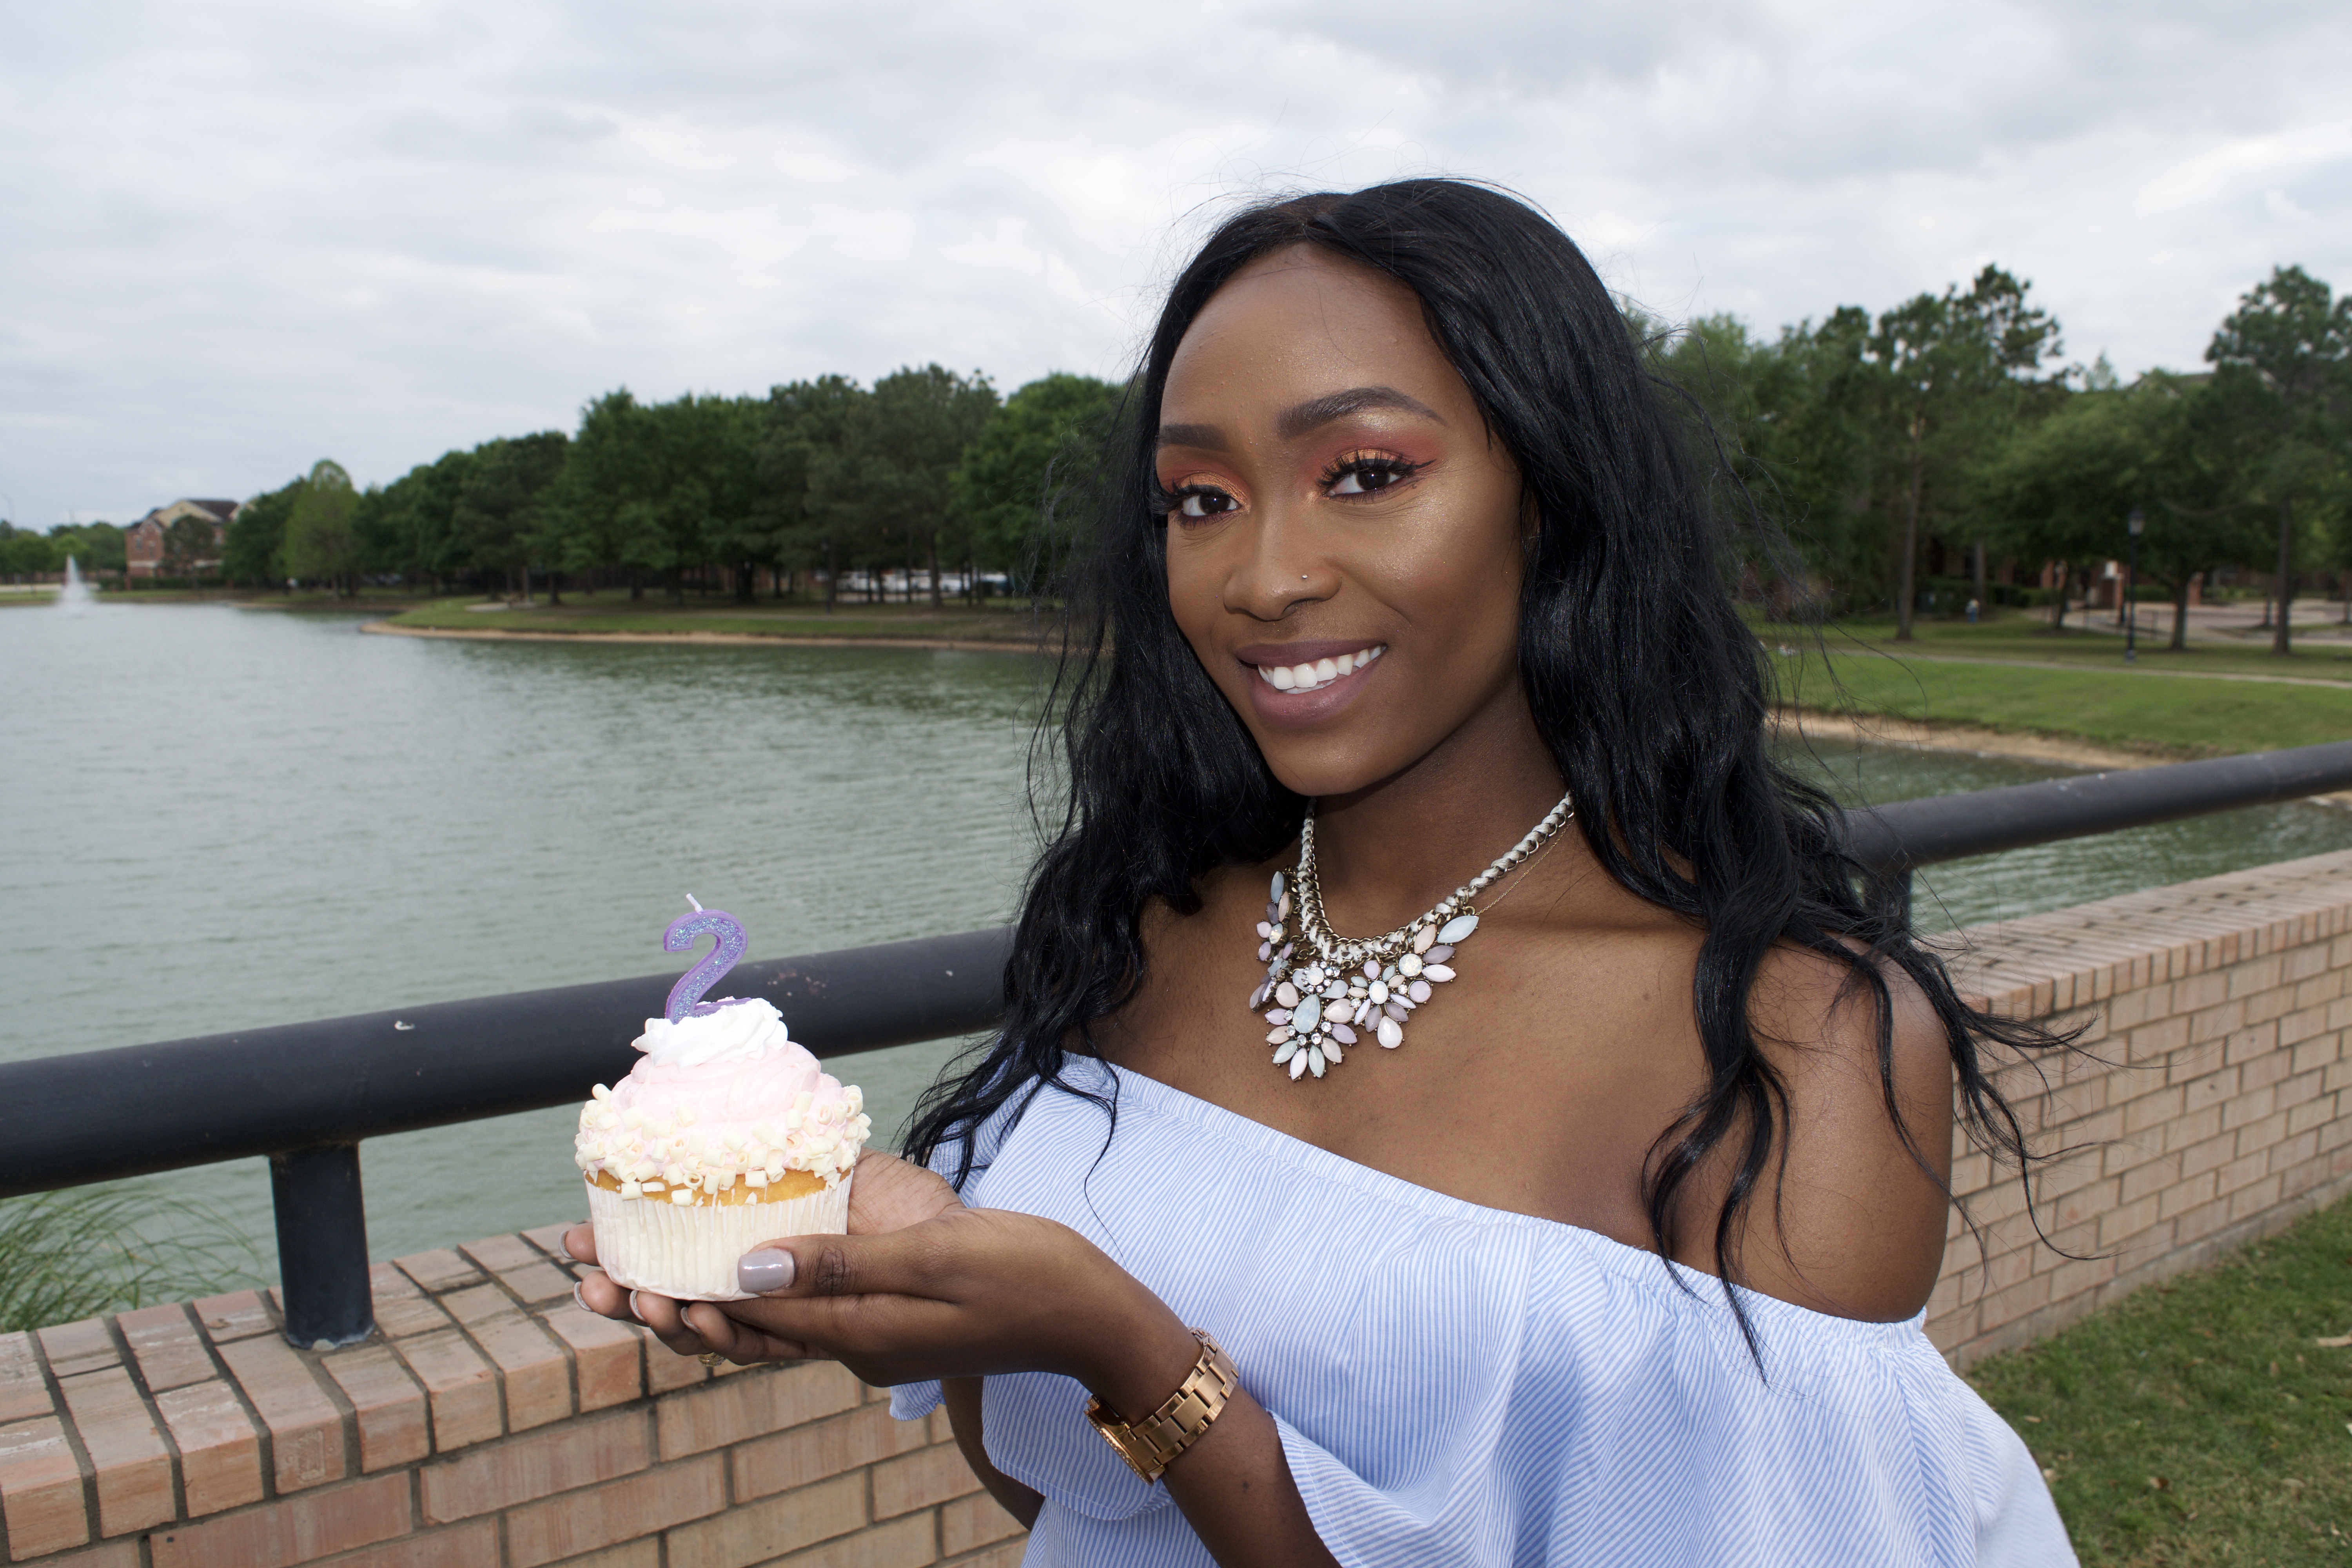
fullsizeoutput_542Ahh! I can’t believe it’s been a whole 2 years since I started blogging (technically 2 years yesterday). I’m not going to deceive you all because you know I like to keep it 100%. It’s not been an easy journey at all, but what keeps me going is my passion for writing and sharing knowledge with people. There have been many times I wanted to give up and just close up my blog, but then I am reminded why I even started it in the first place (find out why I started). This drive and the work that goes into a blog post excites me. Learning CSS coding even reminds me of back when MySpace was in style when I was in middle school.
Thank you to my lovely family & friends that continuously support me in everything I set forward to do. Seriously, you all are the ones shooting with me in the gym! Ha!

Four Essential Products for Baby Soft Skin. | MadameAkay

Happy Monday!

I want you all to start your week off right with great information. Skincare is something that I never really thought I should care about until I got to college, but it is very important to take care of your skin no matter your age. Moisturizing my skin has always been something that comes second nature to me. If you check my purse I always have hand lotion since my hands tend to become very dry very fast. I also have a tube of Chapstick in every purse and in my car because it is imperative for your lips to be moisturized and not cracking. (I can not stand the sight of cracking chapped lips). I hope you add these products to your current skin care routine as I find them to help my dry skin.

fullsizeoutput_b05

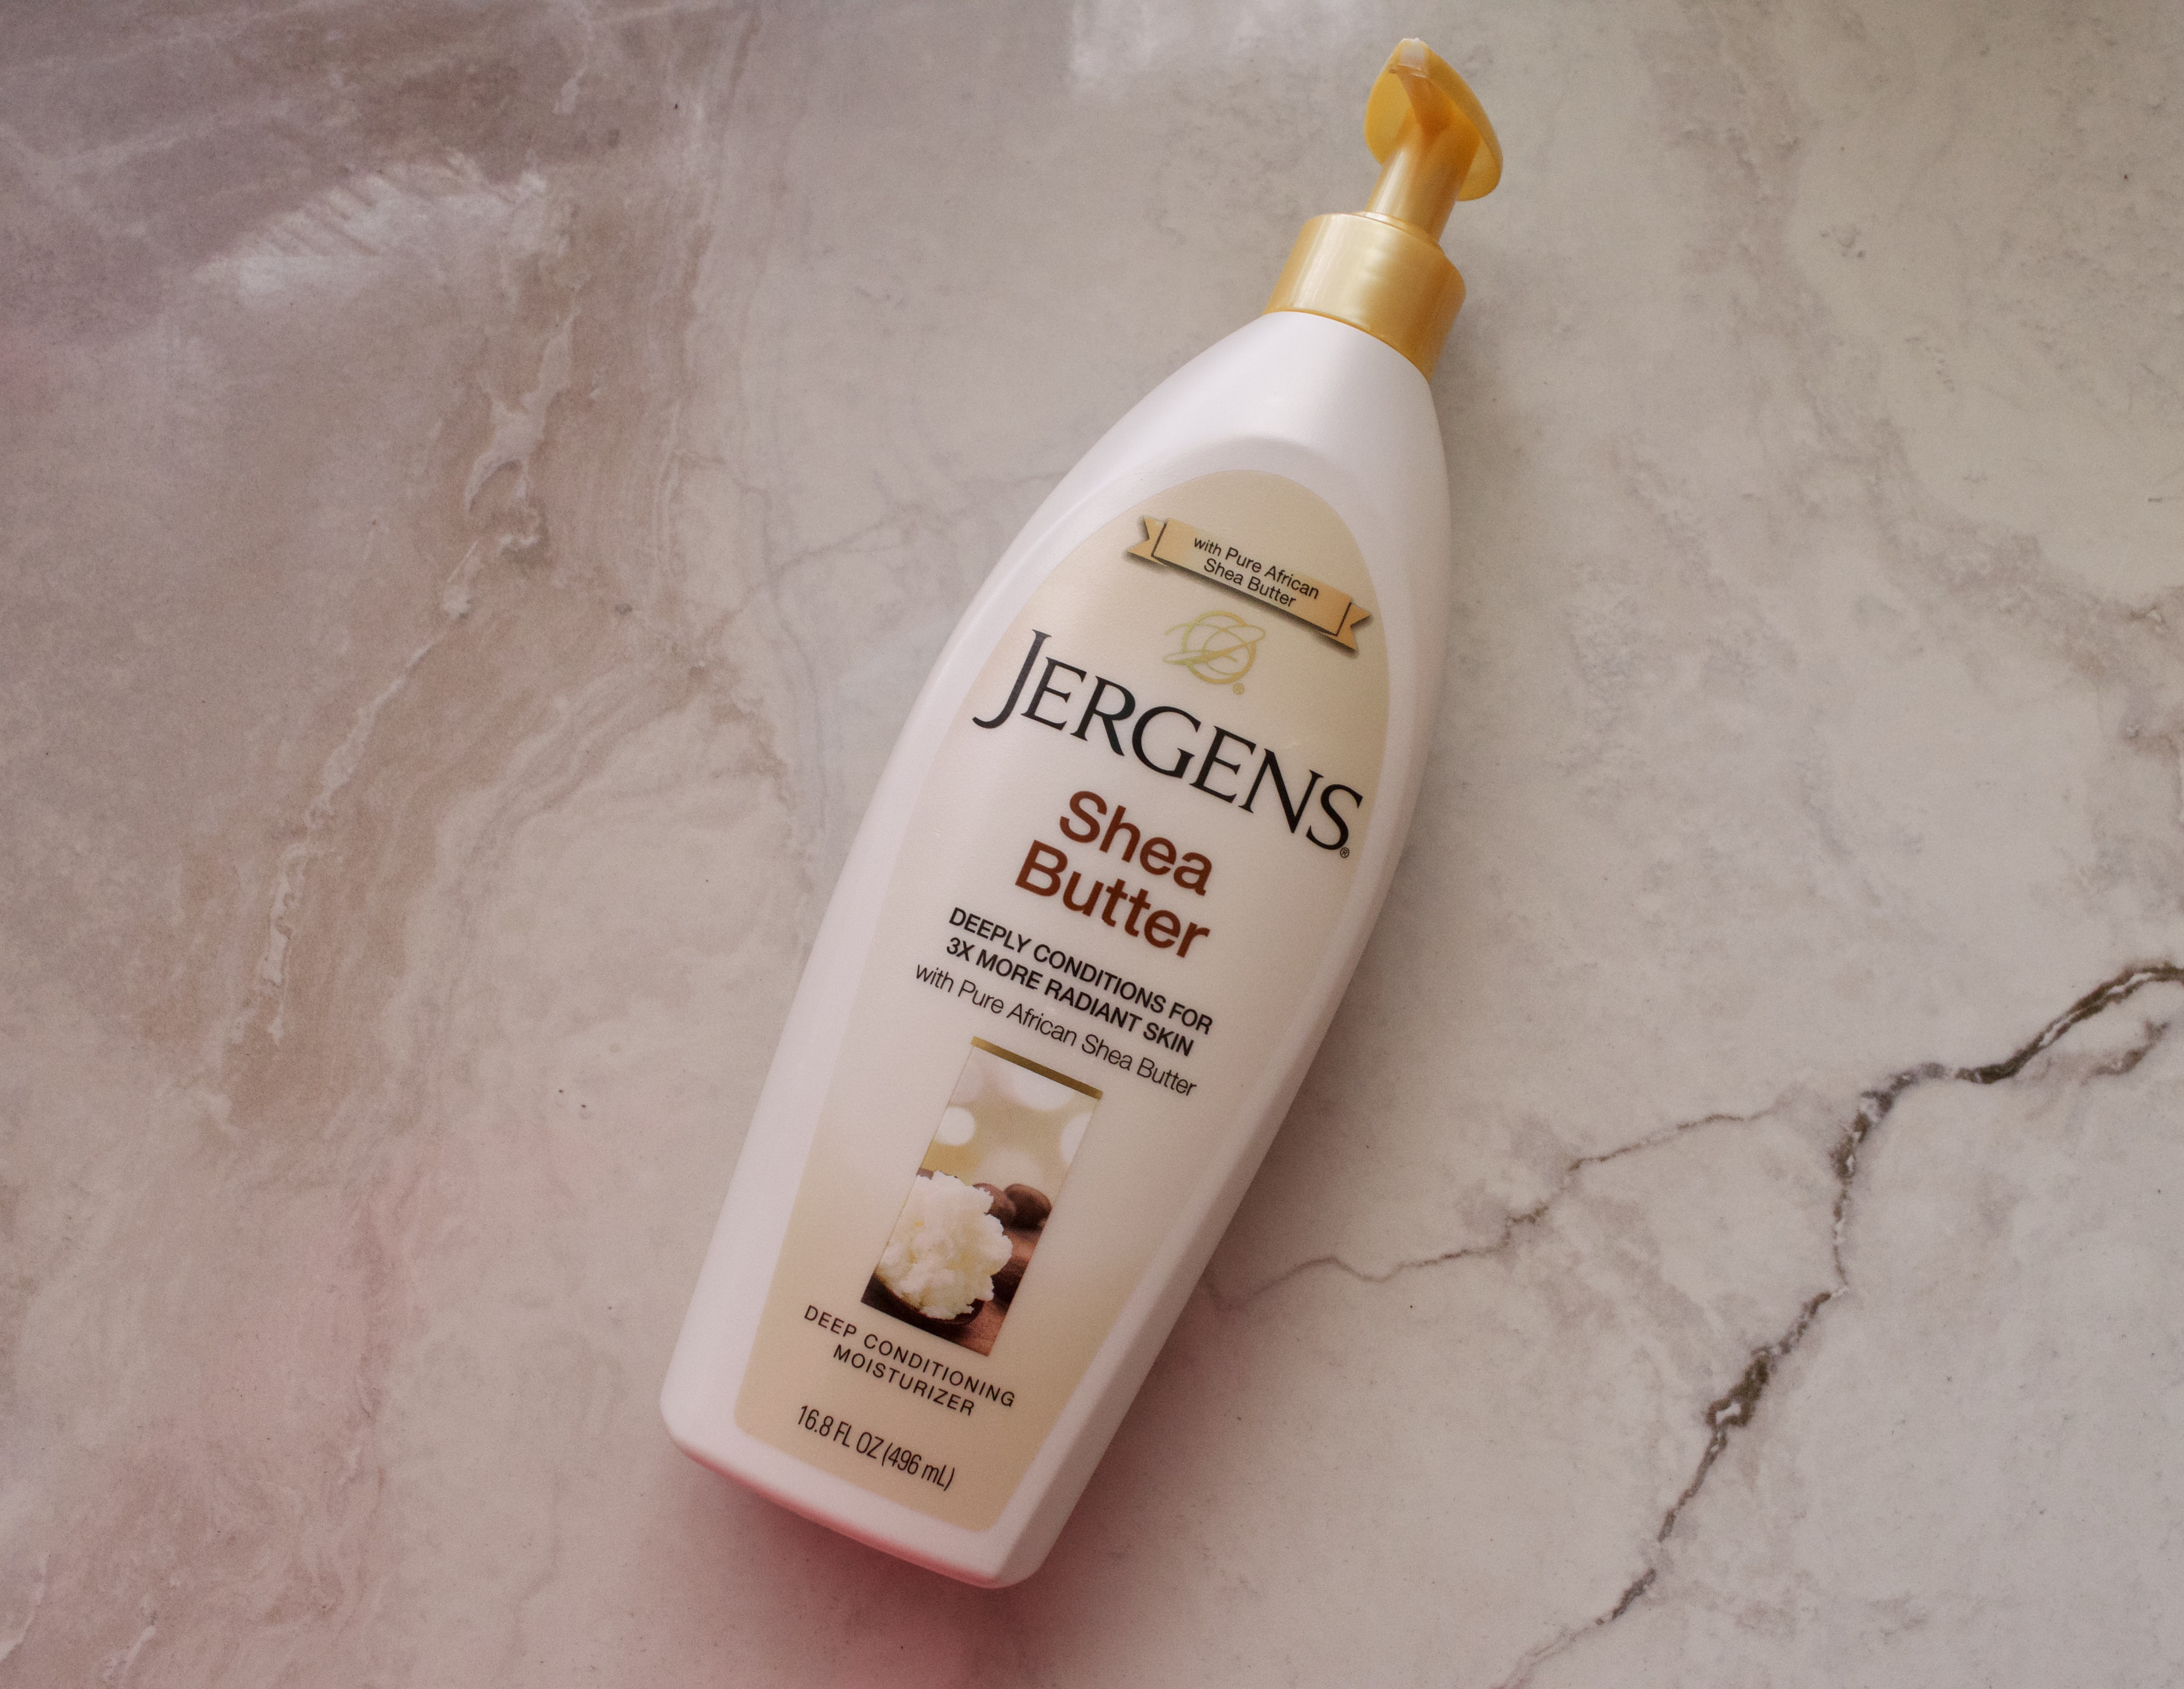
My new holy grail body lotion


My girl Caresse put me on this product! I used to use Nivea Essentially Enriched lotion but now that it is summertime in Texas. This product right here, it helps hydrate my skin without the sticky feel. It contains shea butter which helps with dry skin, skin peeling, skin cracks, sunburn, blemishes, stretch marks, eczema, dermatitis and so much more. This lotion has changed my life for the good, it keeps my skin properly moisturized for this girl on the go.


fullsizeoutput_b0c

Keeps the skin looking youthful


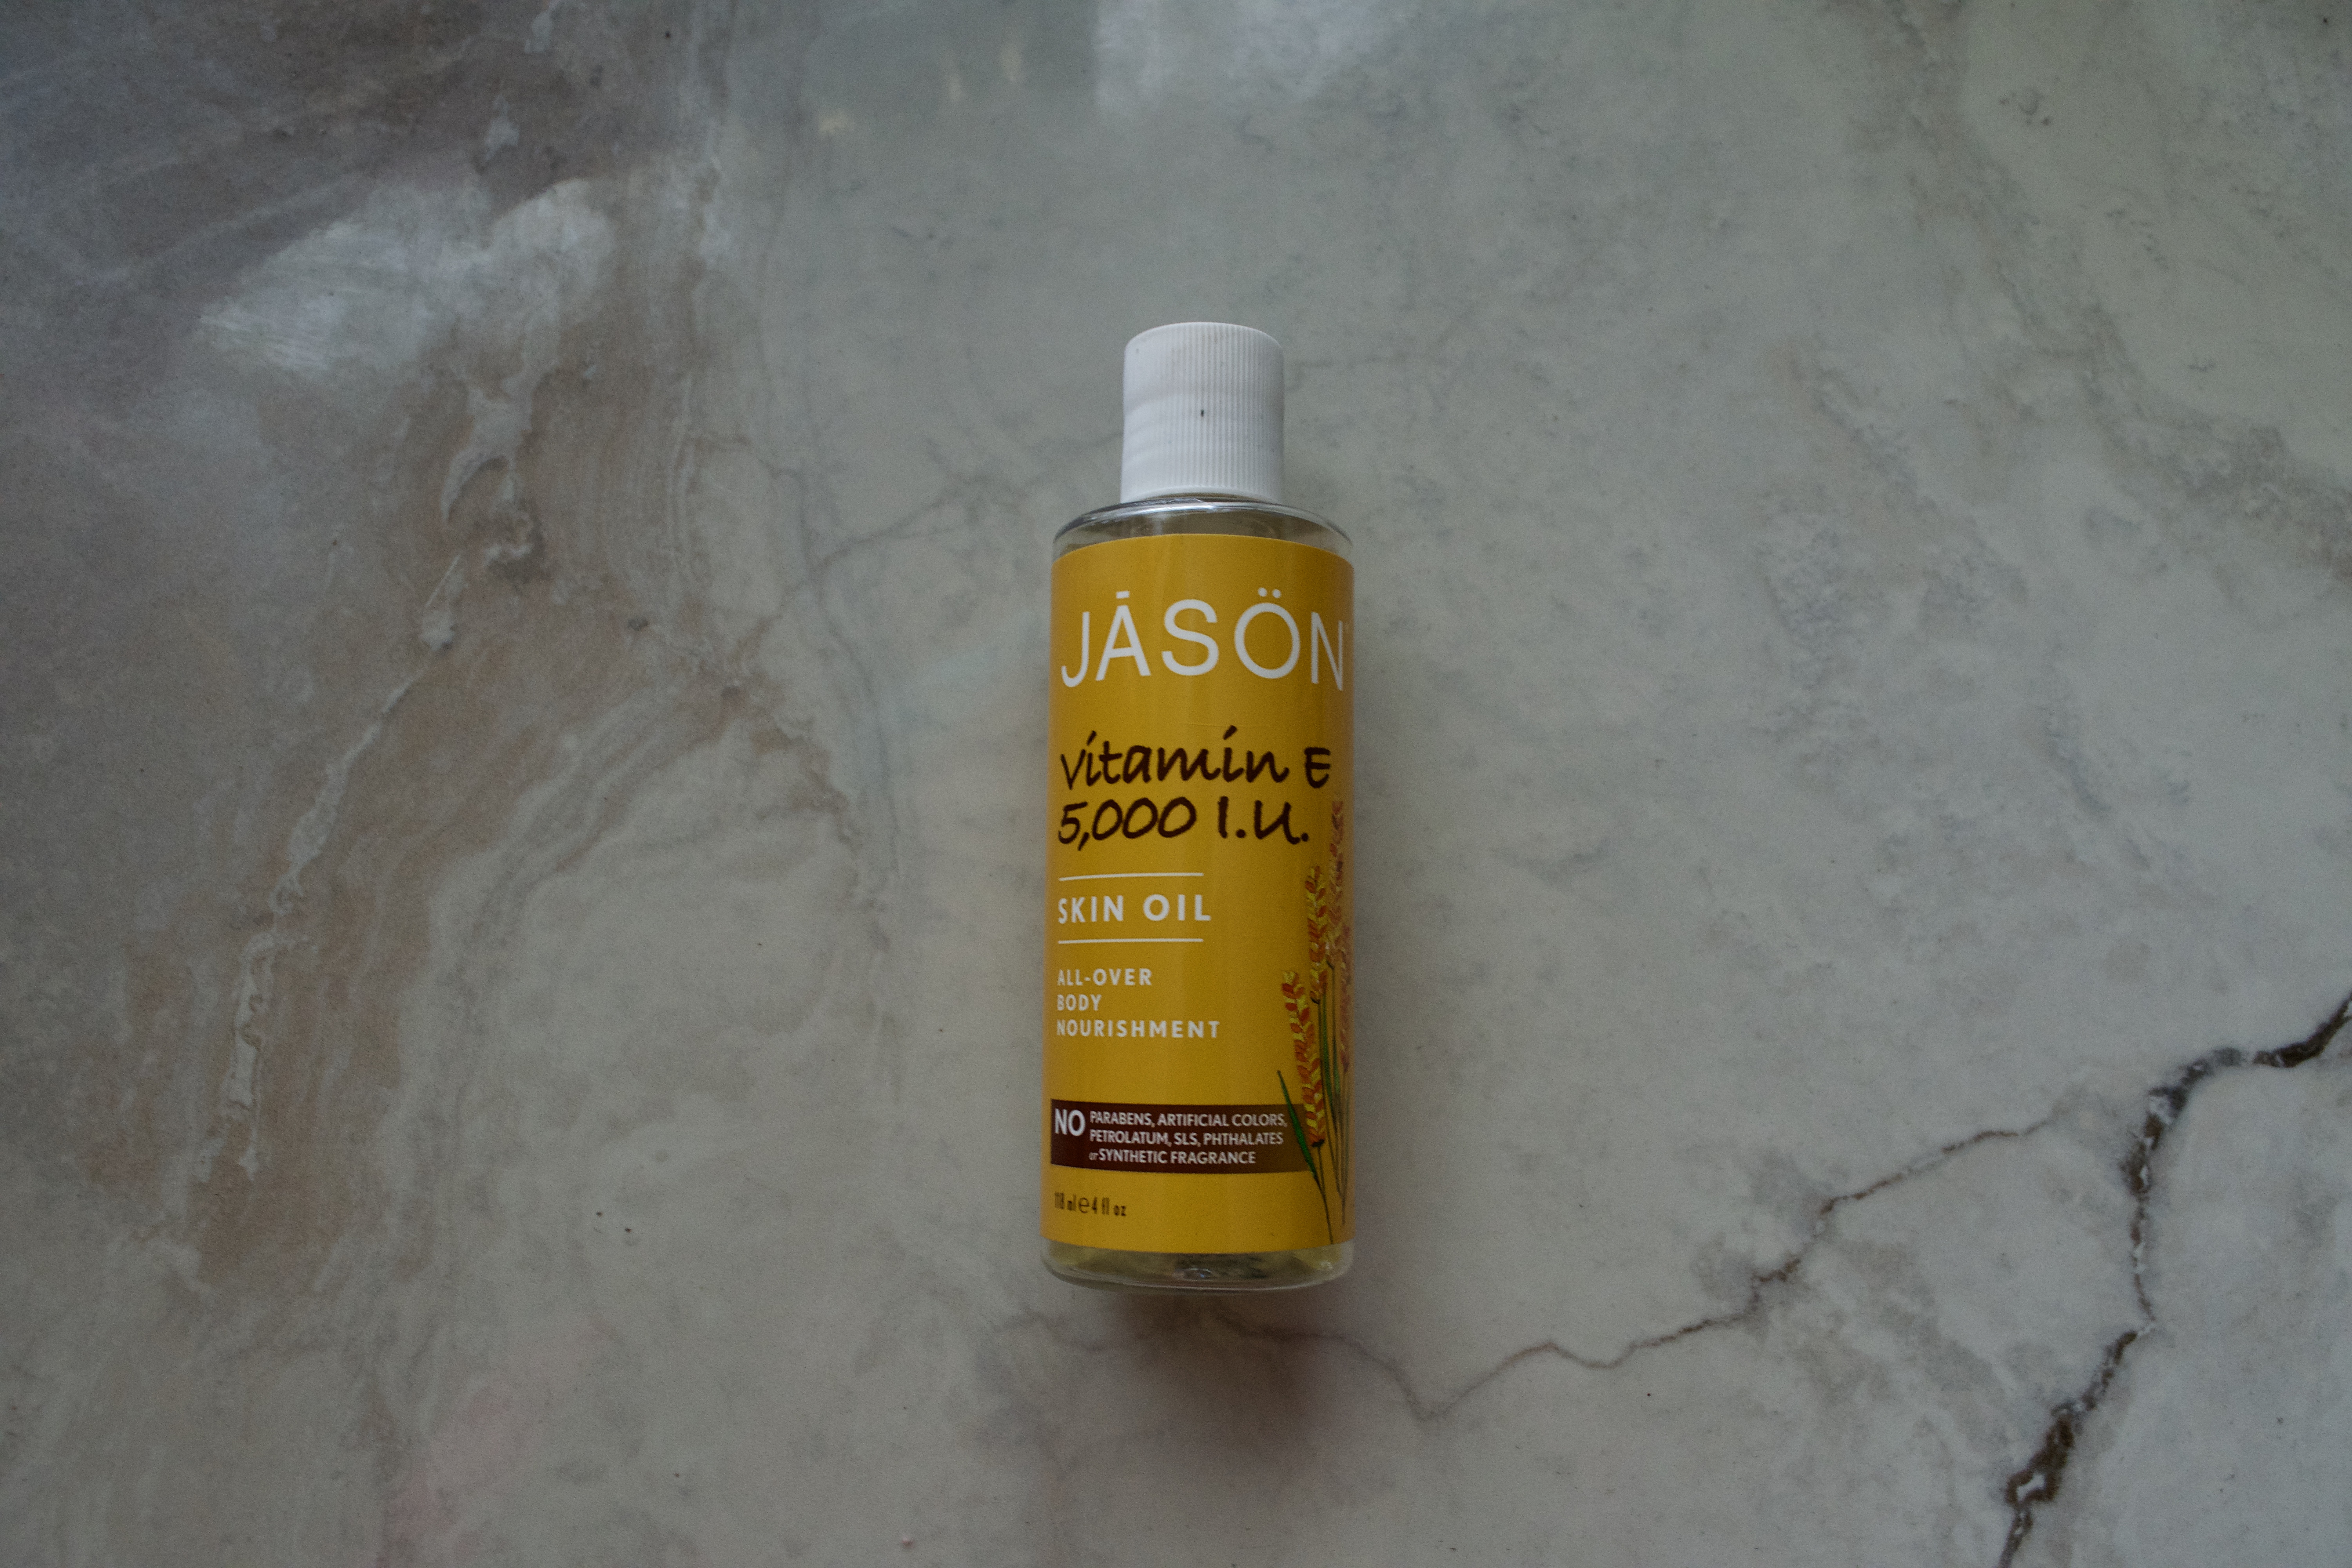
I always add a few drops of vitamin e oil to my lotion it adds a touch of moisturizer to my extremely dry skin. I sometimes use this alone to make my legs glisten. Yes, ladies, this helps you get your legs to glow when you are stepping out with the ladies. Just a couple drops mixed in with your body lotion and you are good to go.


fullsizeoutput_afe

Helps to remove old skin


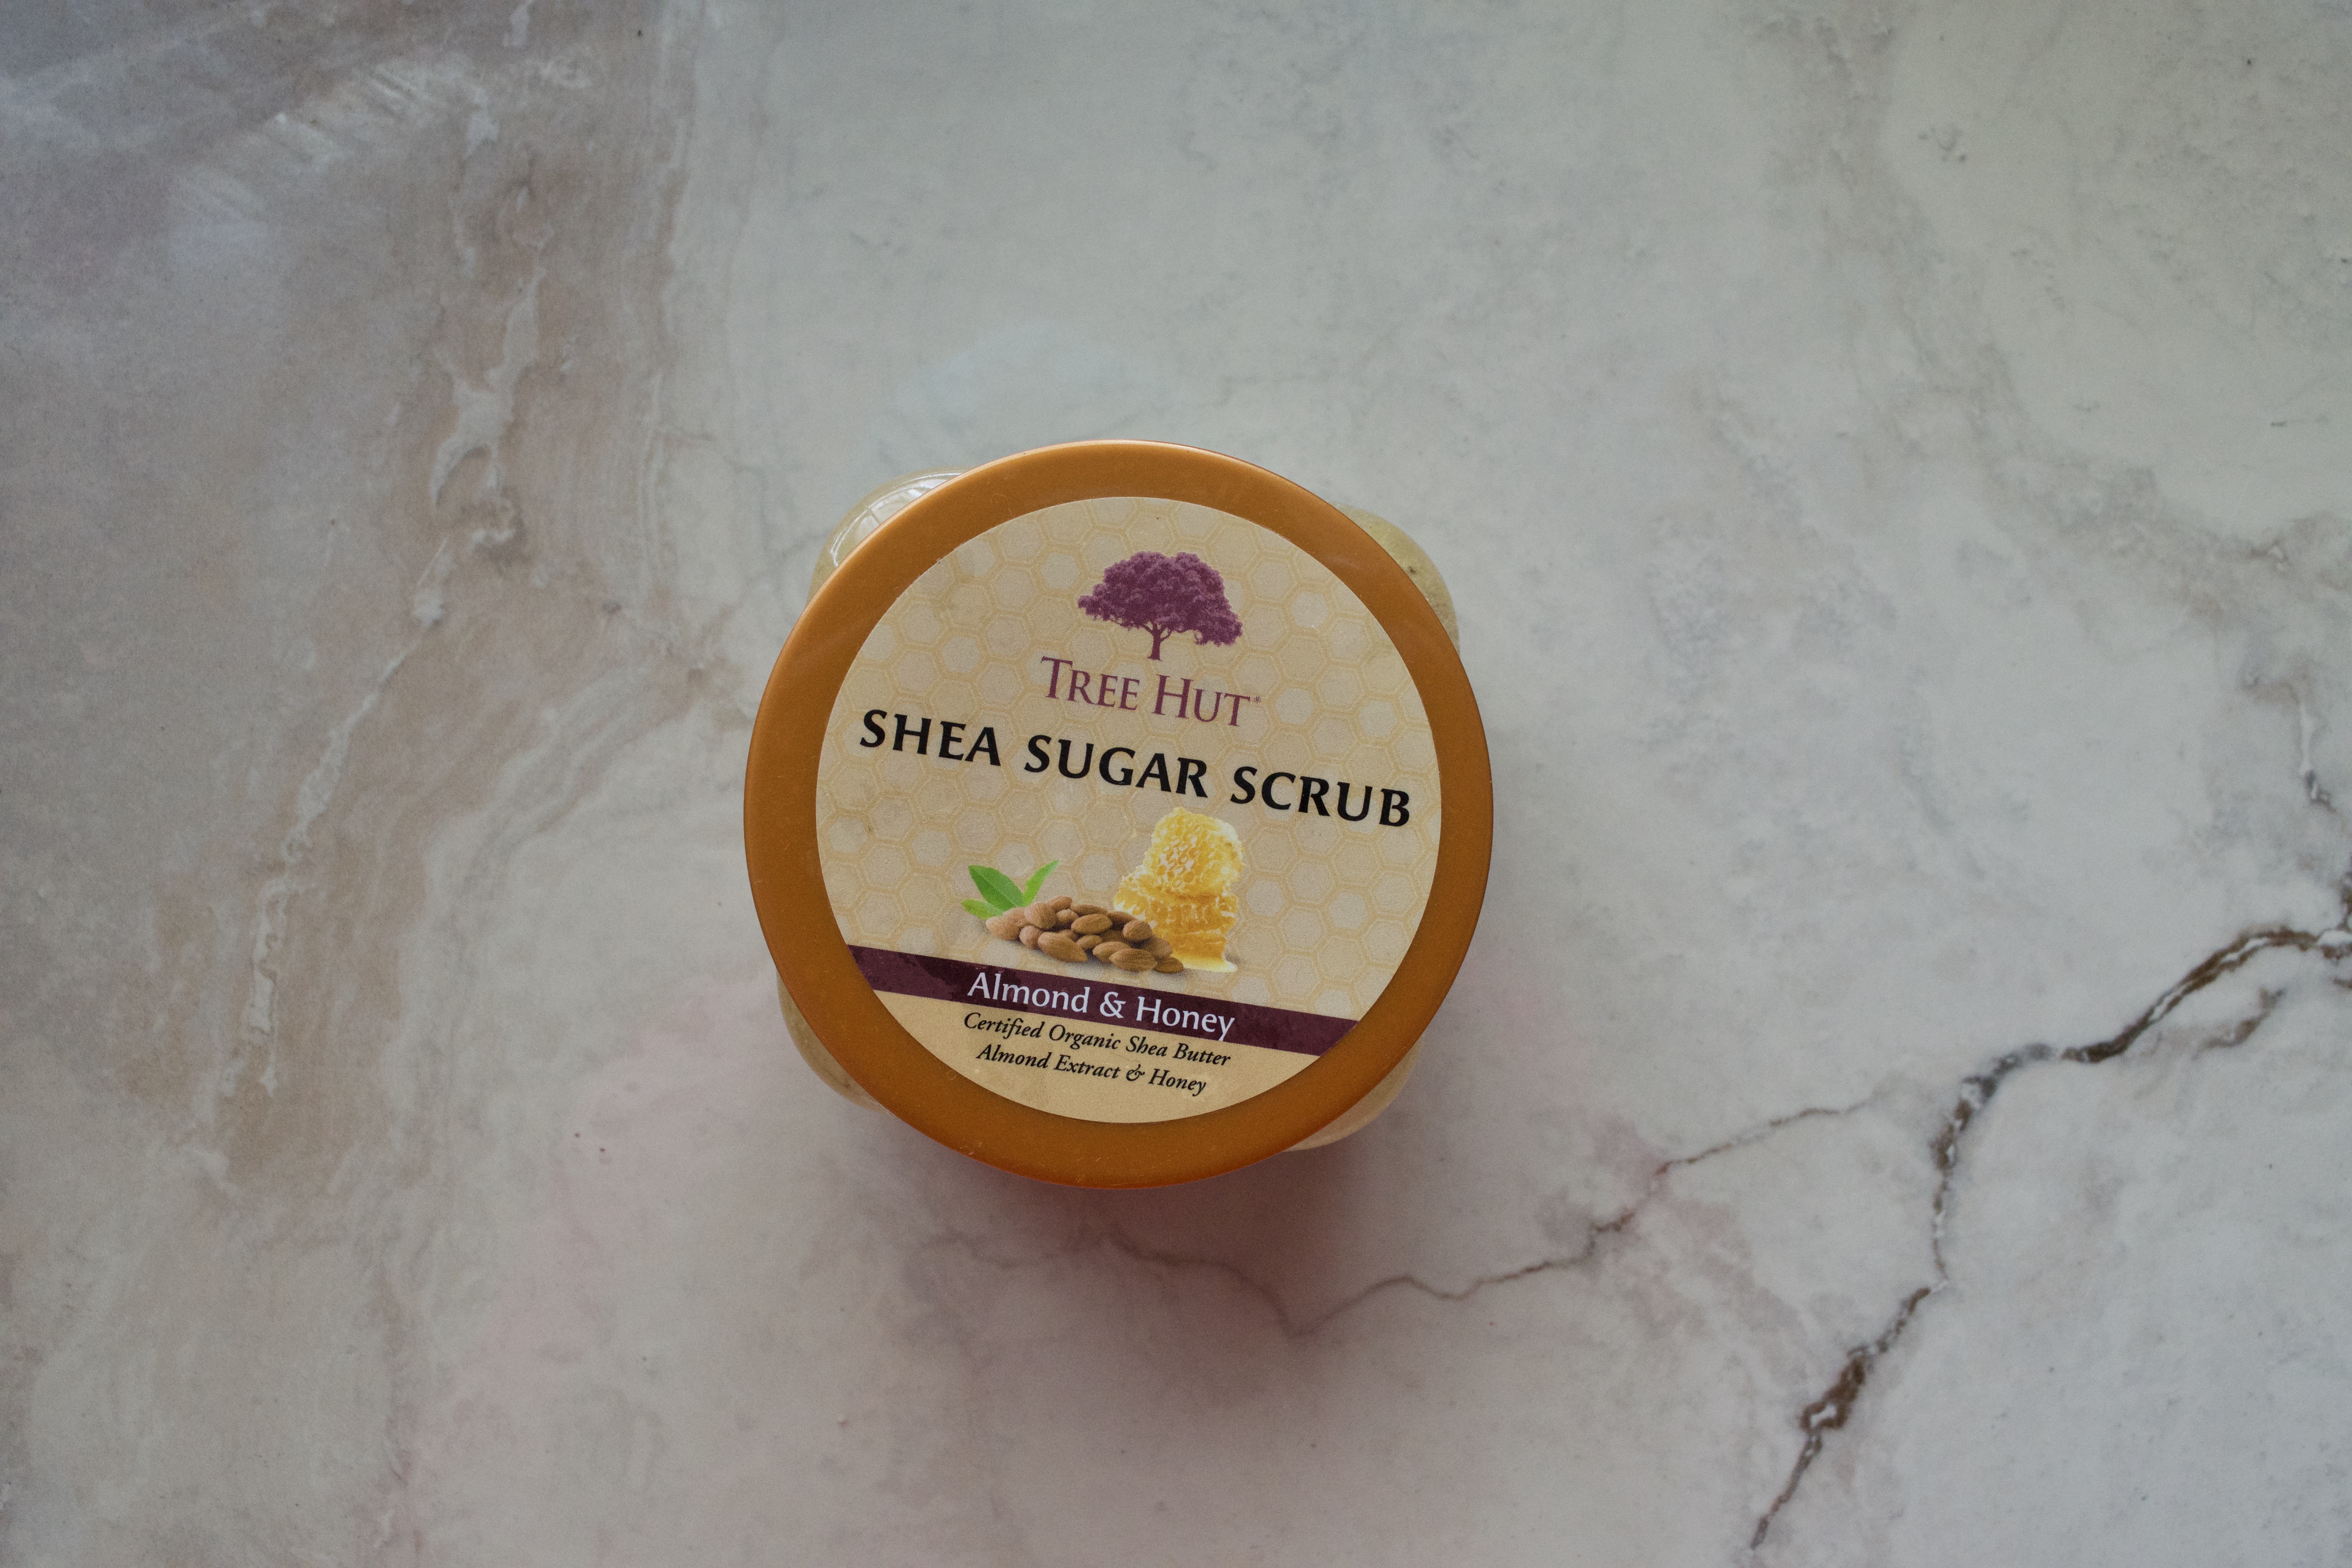
 Exfoliate, exfoliate, exfoliate! I can’t say this enough. If you didn’t know, your skin sheds every night that you fall asleep. If your skin is cracking and flaky then you need to exfoliate your skin. I use this everytime I take a shower and I honestly get baby soft skin after each use. It helps with discoloration under your arms as well. If you shave your skin will get darker so this helps lessen the darkness under your arms. Shoutout to my waxer Amber, if it was not for her I would still get ingrown hairs.

img_8939.jpg

Body Butter. Mmmm Creamy


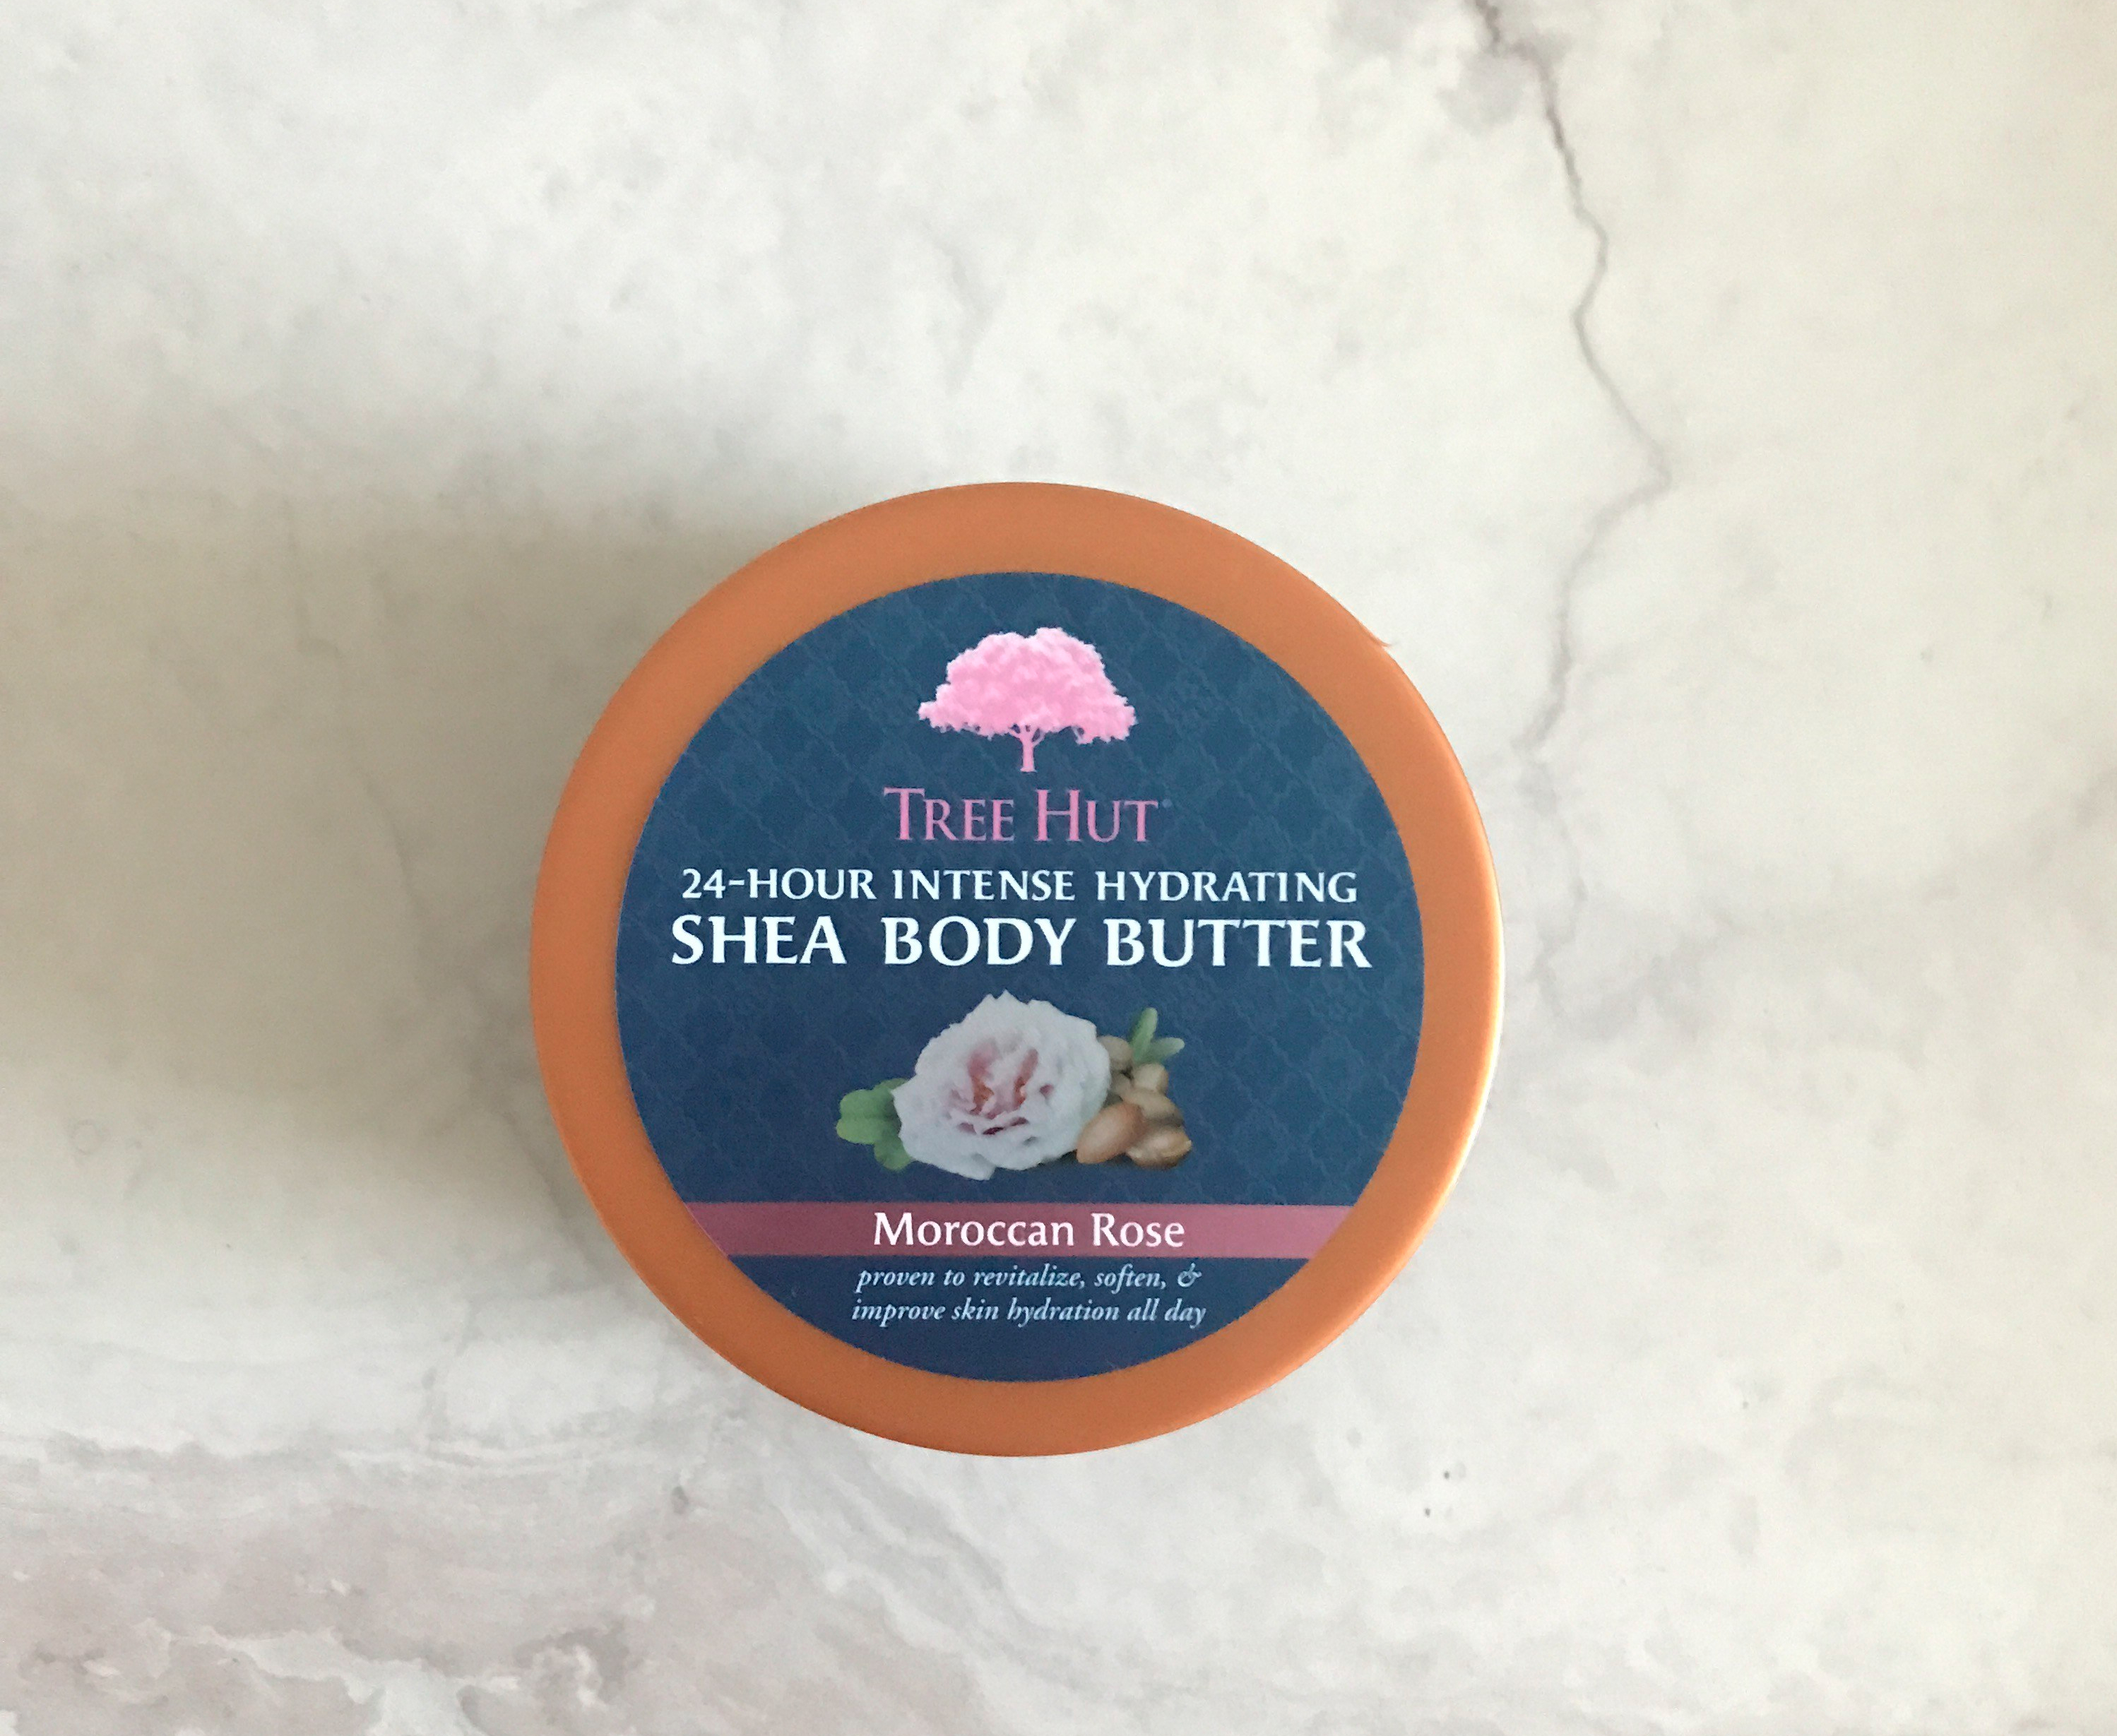
Body Butter. Need I say more? It does just that, butters up your skin so it can look flawless. I don’t like to use my Jergen’s lotion at night time so I use this instead. It provides moisture throughout the night and when I wake up I still feel moisturized. This is my holy grail, not only does the butter provide moisture but the smell Moroccan Rose is amazing.


I really hope this helps you all stay moisturized and not dry this summer! I know it surely has changed my life for the good! All of these products can be found at your local Target, CVS, Walgreens, and Walmart.

Book of Nevers | MadameAkay

Hey Gems!

I’m sure we have all heard the phrase “never say never”, but in actuality, the word never has already been said! Ha! So here is a short list of never’s:

  1. Never feel like you need a man to find happiness.
  2. Never allow your fears to take full control over your life.
  3. Never give up.
  4. Never stop trying.
  5. Never leave your margarita unattended.
  6. Never allow anyone to steal your joy.
  7. Never stop trying.
  8. Never say never.

I want all my readers to be encouraged and move forward to be great! 🙂

Fresh Air | MadameAkay

Hello Gems,

I’m back from my fun-filled vacation and I’m better!

“Let go of the ordinary and enjoy a vibrant, fully-alive purpose that God designed for you.”

I was inspired to write this post while I was worshipping in church this past weekend. Pastor Jeremy Foster’s message was directly for me and being that it’s a new month I thought I would share with you all. I hope that while you’re reading this it sparks something new in you.

“John 15:11 These things have I spoken unto you, that my joy might remain in you, and that your joy might be full.” -KJV

Joy. I experience joy when I am worshipping my Lord. My heart is happy when I’m in church and the praise and worship songs have me in the spirit. I experience joy when I am surrounded by people that truly love me. Seeing my niece happy and laughing makes me very happy. Oh, the joy in my heart is just overwhelming. I love her too much!

“1 Thessalonians 5:16-18 Rejoice evermore. Pray without ceasing. In every thing give thanks: for this is the will of God in Christ Jesus concerning you.” -KJV

Let us break this verse down to really understand what is being said here.

[Rejoice evermore]

It’s so easy to only think of the negatives that occur in our life and lose sight of all the good that has happened. Rejoice means to feel or show great joy or delight. In situations where you have no control over, rejoice. Think about it, there is no point in stressing over the uncontrollable. It’s like the saying goes, why cry over spilled milk if it has already spilled?

[Pray without ceasing]

In all circumstances one should pray. No matter how bad you think things are, pray. When things are going good, one should pray. Let me be real with you all, I’m guilty of praying consistently when things are bad. I ‘forget’ to pray as consistently when things are going in my favor. It’s something I’m trying to work on and with my new found independence I’m going to test myself.

[In every thing give thanks: for this is the will of God in Christ Jesus concerning you.]

Do I really need to explain this one? I’ll keep it brief. Be Thankful.
Breathe In, Breathe Out. How do you feel? I bet you feel a little bit better. Sometimes when you’re under pressure, take a pause and breathe in fresh air. I’ve learned to do this to keep myself from going cray cray. It honestly has helped me, it also gives you time to reconsider your next action.

Coming Up | MadameAkay

Hey Gems!

This week I’m super excited because I’m taking a much needed vacation. I’m planning on being out of pocket for some time but I will be back.

Thanks for understanding!