Browsing Category

Beauty

So Fresh & So Clean Clean | Kinky Wednesday | MadameAkay

Hey Gems,

If you are new to my blog, I am doing a series where I share all things related to my 4C kinky hair. Every Wednesday I will drop a new post related to my 4C crown, leave a comment below I want this to be interactive!


In my last post, I mentioned how I finally found my hair care regime right? Well, today I’m going to reveal my secrets and what my wash day routine details. Shh, don’t tell anyone instead lure them to this post! Ha!
First off, go ahead and dedicate say…your whole day to washing your hair lady. Okay, I exaggerated a bit but oh you thought you only needed to follow the instructions on the bottle and be done in 45 minutes? That’s totally not true, I mean who really uses a dime sized amount of conditioner? I usually try and dedicate at least 5-8 hours from start to end. There are 5 steps to my madness. Shoutout to NappyFu for helping me figure out what works for me. Thanks girl!

Step One: Pre Poo
This process involves applying an oil of choices such as almond, black castor, olive and coconut oil to your entire hair. You want to start from the roots and work your way to the ends of your hair. This step helps prepare your hair for your wash day, we all know shampoo strips your hair of oils. Think of this as your front line of defense with a touch of moisture.

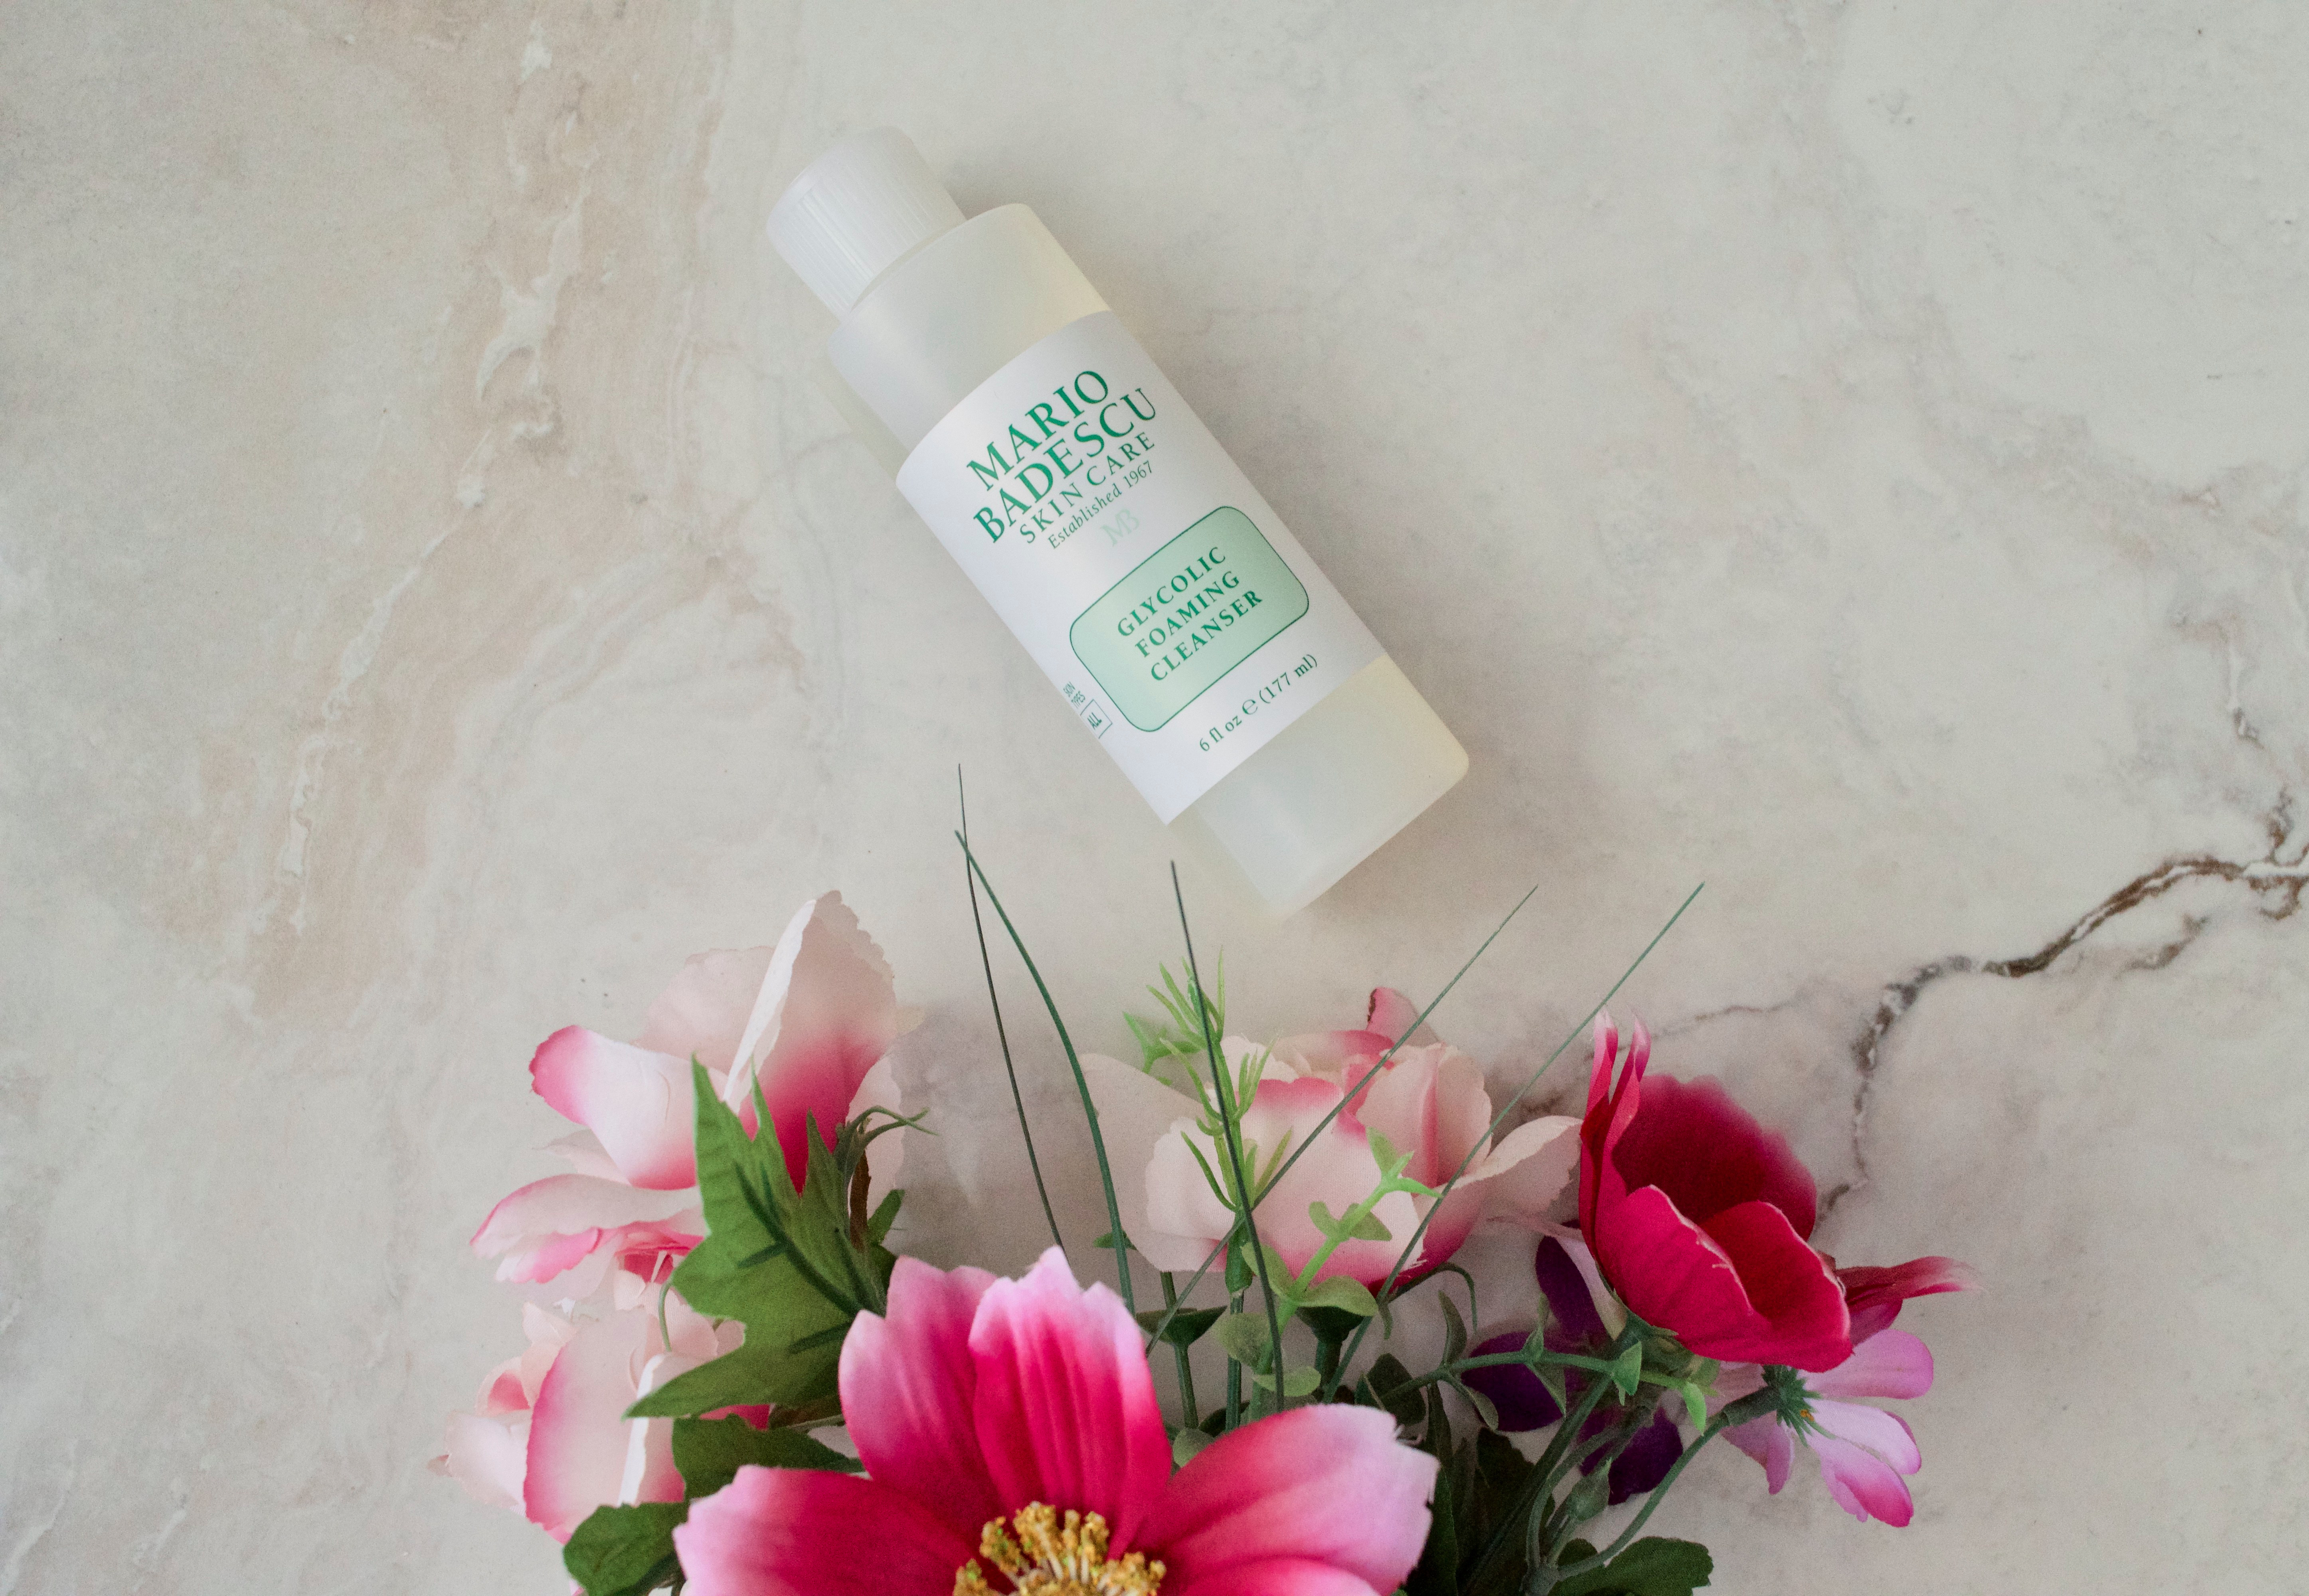
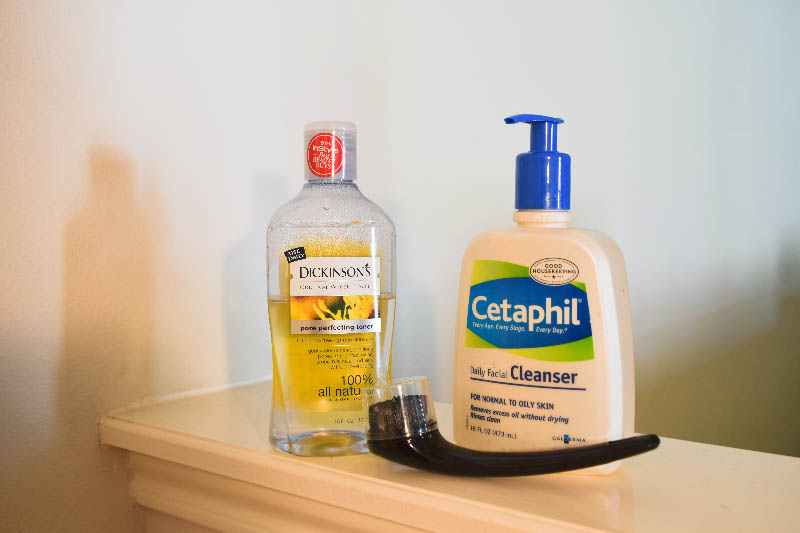
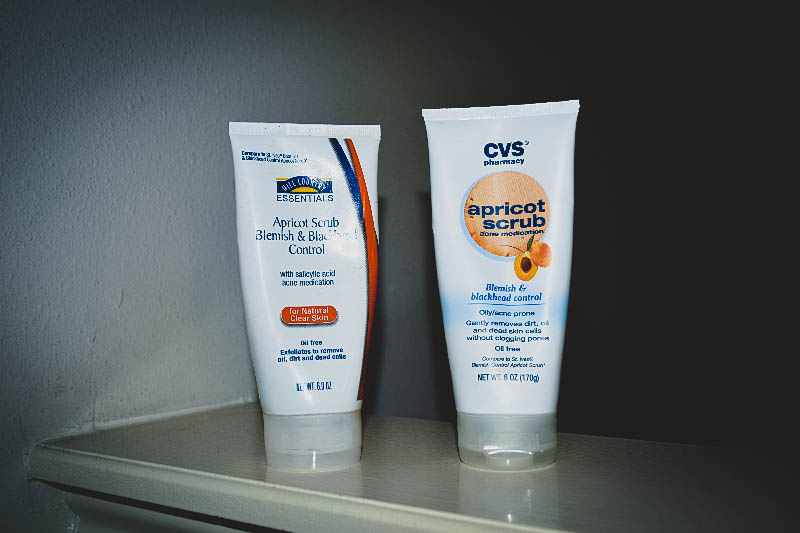
Step Two: Cleanser (shampoo, mud mask, co-wash)
CLEANSE THAT SCALP BABYYY! You know you did a successful cleansing when you do the scratch test. Scratch N’ Sniff Test: Scratch your scalp after shampooing and if you see some gunk under your nail bed turn back around and keep cleansing. Sniff your nail if you don’t see anything and if you smell something other than your shampoo, baby you need to keep cleansing, your crown isn’t clean yet. I also like the mud mask, oh my gosh ladies and gents this is like my holy grail I wanna be snatched for the gawdsss cleanser.

Mud Mask Recipe
– Bentonite Clay Powder
– Braggs Apple Cider Vinegar with the Mother
– Plastic spoon
– Plastic Bowl

1. Pour a small amount of the clay powder into the bowl.
2. Slowly pour apple cider vinegar.
3. The clay and the vinegar will react and bubble so go slow.
4. Stir the mixture until it becomes a paste.
5. Apply the mixture to your hair from roots to ends.
6. If there is leftover paste it can be applied to your face as a mask.

Step Three: Condition
Now, this is an important step. For me, I have to use a moisturizing conditioner because again I wear wigs so my scalp and hair is as dry as the Sahara desert. There are so many different types of conditioners, so depending on what your hair is serving you will determine what type of conditioner to use. In my June Favorites video, I talked about my favorite shampoo and conditioner.

Step Four: Deep Condition
I usually use the deep treatment masque by Cantu Shea Butter and this product has my hair feeling like butter. My curls are popping and the shine in my curls is amazing. I love this step because I apply my masque then my conditioning cap and carry about my business. The directions say to leave this on for 30 minutes but I typically leave this on for 45min – 1 hour depending on how crunched on time I am. In my opinion, the longer the better but I could be wrong, this is just what works for me.

Step Five: LCO/LOC Method
This step is probably the most debatable subject int he natural hair world. I have seen so many posts and discussion threads on which method is the right way and which way isn’t. Honestly, they both work so lets put the pitch forks down and embrace them both.

L.iquid (water, leave in conditioner)
O.il (almond, castor, olive)
C.ream (hair milk, curl activators)

L.iquid (water, leave in conditioner)
C.ream(hair milk, curl activators)
O.il (almond, castor, olive)

It honestly doesn’t matter which way you put it, yes your hair will look different depending on which method you use but hey, your hair is getting the food that it needs. The two methods work for me, depending on how my hair feels. If my ends are super dry then I use the LCO method.

Step Six: Styling
Since I wear wigs majority of the time I plait roughly 8 braids going straight back to my nape. If my wig is a middle part then I section my hair into half from ear to ear and the top portion I create a middle part and braid my hair from the middle to my ear. I also style my hair into a twist out, flat twist, braid out etc. depending on what look I’m going for that weekend. Since I cherish my sleeping hours and I really don’t want to deal with a twist out not coming out right I usually do those types of styles on the weekend and wear my wigs to work during the week.
Well that’s it! I hope you gems liked my hair regime because I know my crown loves it! You have to find out what products work for you and that helps my wash day to be smoother.


This Hair of Mine | Kinky Wednesday | MadameAkay

Hey Gems,

I remember the day I went through with my big chop. My cousin didn’t think I was being serious and she recounted how she cried when she did hers, but I was fearless, she began to snip away till what was left was a teeny tiny afro. I then began to scream on the inside thinking to myself what did I just do to my hair?!? I had to calm myself down and tell myself it’s just hair and it will grow back.

Fast forward, three years in and I’m wondering why my hair isn’t looking long and luscious like the girls on Instagram. I had to remind myself that my hair growth isn’t determined by the other girls on Instagram rather by genetics and maintenance. I wasn’t really showing my hair all the love it needed because in that three years I never even got a trim, rather I would just ‘dust’ my ends. Dusting your ends is a process where you two strand twist your hair and trim off the ends. I should have known dusting my ends would not be enough but it’s what I thought I needed to do at the time. I was so WRONG, like totally wrong! Chai! My hair was almost stagnant at the same length the year after. I decided to do a little more research and I figured I JUST NEEDED TO LOVE MY KINKS! It was such an easy task that I wonder why I was not doing it before.

Fast forward to present day, and I give my natural hair all the tender love and care it needs. I found a beautician that trims her, I found a couple brands that cleanses/moisturizes and I finally found my hair regime. Now, remember I told you all that I never got a trim like ever, well it was very evident in the health of my hair when I sat in my beauticians chair. She told me, “there’s no point in holding on to broken and damaged ends”. (I kind of wish I used that in my past relationship, but that’s another story). She snipped away and the picture below is what my hair looked like before after my silk treatment with a trim.


Before | Silk Press Treatment


After | Silk Press Treatment

It looks so short right, and we all know that natural hair stretches so you can imagine what it looked like when wet. Anywho, watching natural hair Youtubers became my pass time and I started taking notes. I realized that wash day was going to annoy me because it was literally a five step process that could last all day. I told myself it will all be worth it when my hair is at least waist length, right? This journey back isn’t one that will be rushed but rather your hair just wants and needs to be loved and you do that by taking care of her daily. I opt for low maintenance styles such as wearing wigs, braids, crown braid, faux buns anything so I’m not playing in my hair. Ladies, this is key, you don’t want to constantly manipulate your hair it causes damage. I could go on and on but you have to decide on what your journey will be. I decided to change my course and love my crown.
Hope you enjoyed my tell all, and inspires you to take pride in your own crown.

I’m Loving My Skin! | MadameAkay

Hi loves!

I wanted to share a couple products that I use to take care of my skin under my makeup. I heard about this brand in February after attending a Galentine event hosted by my friend. She warned us that the products would be expensive, but that did not stop me. Usually, I would have gone straight to test out the products but I wanted to really do some research and see for myself if the products were worth me getting. Hope you all fall in love with this brand as much as I have.


Caudalíe Face Products 

This brand was founded in 1993 by Mathilde Thomas and her husband Bertrand in France. The products started appearing in multiple pharmacies and evolved into the company they are today. They are committed to providing their consumers with natural ingredients, meaning no parabens, mineral oils, and animal derived raw material.


Caudalié
fullsizeoutput_ce7
I told you all I had to do some intense research to ensure I was not wasting money on a product that did not work. Luckily for me, Sephora was giving away the Vinoperfect Radiance Serum and Vinosource Moisturizing Sorbet as a free birthday gift. I seriously thought I hit the jackpot with this one. I finally got to get my hands on this product for free!! FREE! I instantly loved it. I did not get the heavy sticky feel from the moisturizer and the serum, added a touch of moisture after I applied my toner. So I decided that I was going to buy the full-size products, but they were just too expensive. The serum by itself was $79 USD without tax. I was bummed out but I thought to myself, even organic food is not the cheapest but we still purchase it. Long story short, I went to Sephora and saw that the full-sized serum came in a beauty box along with the Glycolic Peel and an overnight renewal cream all for $79 USD! WIN! I also bought the Beauty Elixir as a toner since I was running low on my with hazel toner.
I can honestly say this brand has changed the way that I take care of my skin. It gets the MadameAkay stamp of approval!


Glycolic Acid Skin Benefits

Glycolic Acid is an exfoliator that removes the outer layer of dead skin cells on your skin, bringing fresh new skin to the surface. It can also help lighten discoloration of the skin, acne-prone, and blackhead prone skin. 


Mario Badescu Glycolic Foaming Cleanser

fullsizeoutput_ce1.jpeg
I knew I needed to get some sort of cleanser with glycolic acid, but I wasn’t sure what brand would be the most effective. After searching high and low I came across this brand when I was shopping at Urban Outfitters so I said let me give it a shot. Since I started using this product, I have noticed that my areas of discoloration were becoming less and less. I always had tiny pimples on my forehead and I never understood why it would not go away with the use of my clean and clear acne wash. It was honestly the only area on my face that consistently had pimples. I also had stubborn blackheads around my nose which I have noticed has now become drastically less prominent. TIP: Do not use this product every day since it strips the first layer of your skin. Also, make sure to use a moisturizer with SPF to protect your skin during the day. 

I love all these new products and I hope you go out and test them out. Sephora gives out samples!! Win, again!

Valentine’s Day is over, now what | MadameAkay

Hey Gems!

It’s now what, three days after Valentine’s Day? Maybe you went on this lavish date with your significant other or maybe you just hung out with your girlfriends… Now that I have your attention! Oh, you thought this post was going to be about Valentine’s Day? Nope! I actually have a brand spankin’ new video on my YouTube channel! Yes, I dusted off my channel and I’m going to be posting more on there. Ladies, this one is for you. This one is for those of us that are always on the go and don’t have time to highlight and contour. This one is for us ladies that just don’t have the time.

I usually don’t feel like doing the whole, contour my cheeks and highlight my t-zone routine. So when I’m looking for a very simple and minimal effort look this is my go to foundation routine. Guess what, it only took 8 minutes! That’s right 8 minutes!
Quick 8 Minute Foundation Routine!

Let me know what you think, and if you want to see more of these types of videos.

I was Kinda Just Pushed Into This! | MadameAkay

Hey Gems,

I know you’re probably wondering what the heck this post is going to be about. My apologies for getting this post to you all late, but i’m really trying to come up with a schedule between work, finding a man lol jk! But you guys get the gist. This is the first I’ve seen anyone do such a video so I’m super excited and I hope you all like this video. I honestly want to say nothing, I rather want the video to speak for it’s self.

Love the Skin You’re In: Skincare Tips | MadameAkay

Hey Gems!

Yes, My Wonderful People Love the Skin You Are In!
I’ve been told that I have good skin by a good amount of people. I always wondered what are they talking about? I have all these tiny bumps on my forehead that sprouted from who knows where. Pimples that show up just about every month (..ladies you know what I mean?!)  and so many complexion colors! It’s frustrating for me because on top of all of things I just mentioned I also have sensitive skin.

High School

In high school I never really cared for my skin, the same soap I used to wash my body I used on my face. No care in the world! Ha! It wasn’t until I went to college and having to walk long distances for many of my classes, and sweating all day, that I realized something had to change baby! So where did I look to first? YOUTUBE of course! But I quickly found out, almost everyone on there were using 5-10 products on their face. -_- I would have quickly ran to the store to buy everything I saw, but being a college student with no job I couldn’t just buy all the products. So I asked around  to see what my friends were using and the overall product was Apricot Scrub.

Brands

When it comes to choosing between brands such as St. Ives or Walmart brand, I always turn to the ingredients. I wondered why one was selling for $2 more than the other one. (Guess being an economic major is paying off) If the two products has the same Active Ingredient, in my opinion, go with the cheaper one! Now if you just really want the St. Ives brand, that’s fine. No judgement! Since when it comes to your skin you don’t want to put just anything on it!
Progressing through college I had to change the products I used because I saw just using Apricot scrub was doing nothing to my face. I still had the tiny bumps and random pimples. As I stated before I have really sensitive skin so trying new products I was very hesitant to venture away from my Apricot Scrub. But I knew it had to be done if I wanted to see a change in my face. So currently my face routine twice a day after I take a shower is:

  1. Quick rinse of hot/warm water on my face to open my pores to remove the nasty dirt trapped inside
  2. Using my Sephora face brush I apply my Cetaphil Daily Facial Cleanser onto the brush
  3. In circular motions for about 1 minutes I apply the product all over my face
  4. I rinse off with warm water then go back and rinse again with cold water so my pores can close
  5. I finish off with Dickinson’s Original Witch Hazel which is a pore perfecting toner which I applied with a cotton round
  6. I finish up with Neutrogena oil free moisturizer all over my face

facial-1
sidenote* I don’t always use the Cetaphil Daily Facial Cleanser, I interchange that with Neutrogena Transparent Facial Bar, fragrance free, and Apricot Scrub. There is no particular order or schedule I follow, just what ever I feel like using I use.

scrub-1
For my body, since I have dry skin I use any brand of body oil and then Cetaphil body cream. Sometimes I have to re-apply in the evening time since our bodies sweat and I work in a building where it is always cold.

lotion-1
Lastly, I take gummy multivitamins for women!

vitamin-1
So that’s it’s!

Now you know my secret. Shhh don’t tell anyone!
You have to find products that works with your skin, look at the ingredients list because the first name on the list is what they used the most and then the last of course is what they used last. I found what works for my skin based on how my skin reacted to certain products. Don’t give up, it’s all about trial and error.